|
|
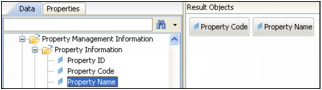
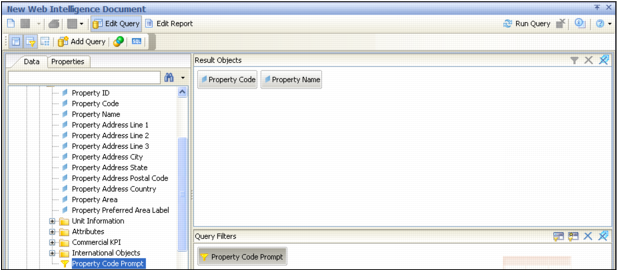
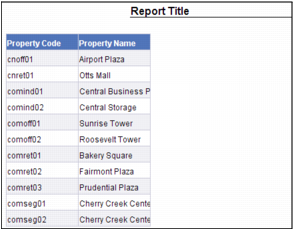
The sample report used in the following procedures contains two result objects (pointers to data): Property Code and Property Name, and one query filter: Property Code Prompt. These result objects and query filters are objects that were created in the universe during Yardi development, and are included with Insight.
|
c
|
Confirm that the report is in the folder specified in the Client Folder Name field in the configuration screen. Also, confirm that it is not in the Dashboard Reports Path specified in the configuration screen. For more information, see “Adding a Custom Report to the Menu Set”.
|
The system administrator can add the report to an Insight menu set; this is optional. For more information, see “Adding a Custom Report to the Menu Set”.
|
1
|
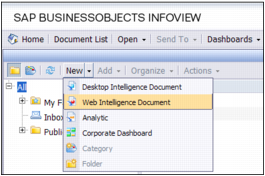
From the SAP BusinessObjects InfoView top menu, select Document List.
|
|
2
|
From the menu bar, select New > Web Intelligence Document.
|
|
4
|
On the side menu, expand the Property Management Information folder, and then expand the Property Information folder.
|
|
5
|

|
6
|
|
7
|
|
8
|
|
9
|
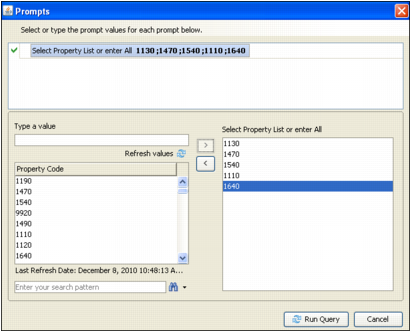
In the Type a value field, type or select one or mode property codes for the properties that you want to view in the report, or select one or more properties in the Property Code box.
|
|
10
|
|
11
|
Click Run Query. The report appears.
|
|
a
|
From the menu bar select Edit Query. The original Result Objects panel and Query Filters panel appear.
|
|
c
|
Click Run Query. The modified report appears.
|
|
13
|